
Last night I packed away most of Maureen's 3-6 month clothing. Can you believe it? She'll be 4 months next week, and we're already heavy into the 6-9 month onesies. She's a big girl, and the cloth-diaper-sumo-butt-thing only enhances it. Among the articles I packed away were three fleece sleep sacks, which we had in constant rotation during the winter. As we are getting a preview of summer, I started wishing Mo had something lighter weight than a sleep-and-play that she could wear at night. I have seen knitting patterns for kicking bags made out of sock wool (for you non-knitters that's very thin yarn usually used to make socks), but I'm afraid that if I embark on a lengthy mindless knitting project right now it will never get finished. Instead I dove into my stash of
Materials:
* One cotton tank top. I used a Jockey brand women's size L basic tank. They are very stretchy. And natural materials means it will breathe better on baby.
* Scissors.
* Straight pins.
* Thread.
* Sewing machine (optional).
* Pinking shears (optional).
* 3/4" elastic or the size that will fit through your tank's hem.
* Safety pin.
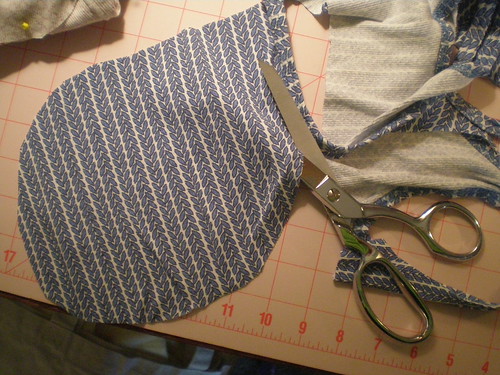
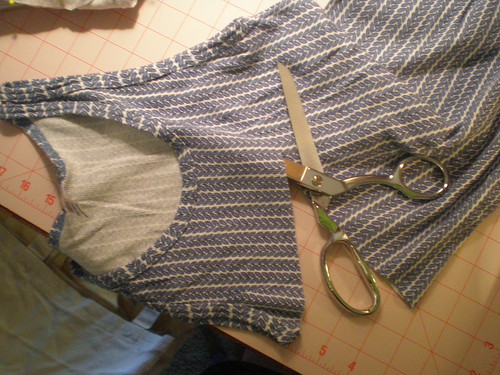
First, cut straight across the shirt right under the armholes. Next cut out a rounded shape from the back of the tank. Sort of a circle-ish, rectangle-ish shaped piece. Doesn't have to be exact. Here's what your tank top should look like when you finish cutting:
You can chuck this part. And yep, I realize that the fabric is suddenly a different color. I did not start taking photos until the project was well underway.
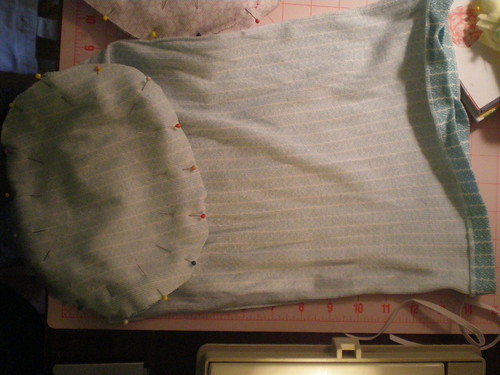
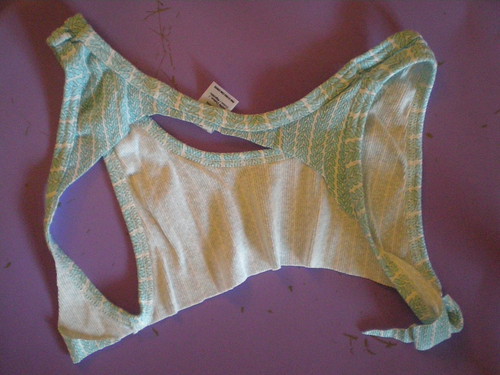
Turn the body of the tank top inside-out. Pin the "circle" to the raw edge so that the right sides are facing each other. Sew around the edge leaving a 1/2" margin. Then you can either trim the edges with pinking shears or zigzag stitch the edges. Actually you don't really need to do either if you're using jersey material because it won't ravel. It's just a little neater.
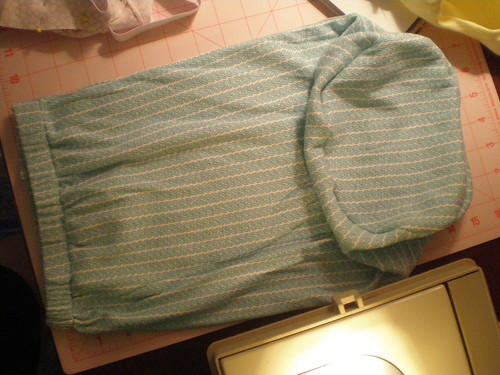
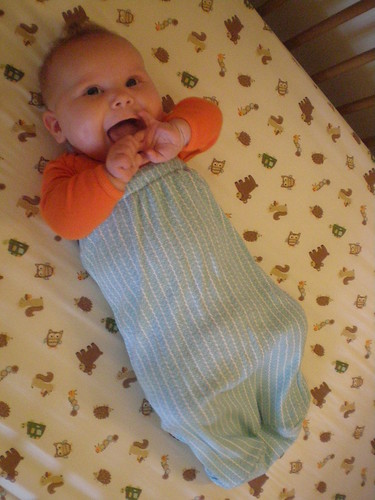
Turn the bag right side out. You're going to have to estimate how much elastic will fit around your baby's chest. I used a pair of Maureen's 9-12 month pants to guestimate the length of elastic I would need, hoping this would fit her through the next couple months. Cut a slit on the inside of the hem near the side seam, and feed your elastic through the hem channel. I hooked a big safety pin onto the end and used it to slide the elastic along. Then I overlapped the two ends of the elastic band, being careful not to twist it, and sewed back and forth and back and forth several times to anchor them together. And that's pretty much it. I tucked three of these bags into Mo's Easter basket--of course, everything else was from the bunny.
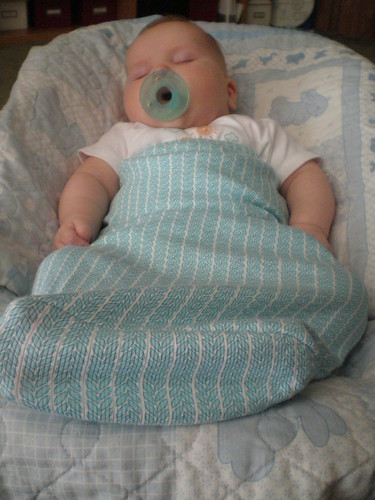
Insert baby, and snooze.
2 comments:
Love the kicking sack. Saw it on Cosy and you are a genius to adapt it the way you did. Looks like the leftovers could make sports bras? What a smart, easy change outfit for her while she is still pre-walking. I bet she can use them when she's crawling? Anyhow, smashing idea. She looks sweet in them. The picture of Robb and his girls... oh my. She's a miniature Robb. But Rick say's Robb's legs aren't as chubby :)
that's pretty awesome! and she's really cute!
Post a Comment