Showing posts with label use what you got. Show all posts

Tuesday, March 4, 2014

Wildlife carnival

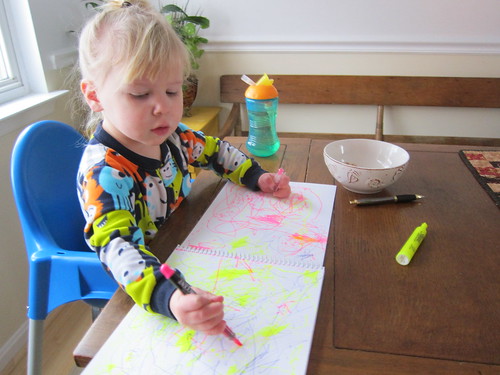
Coloring at breakfast
Winter storm Titan
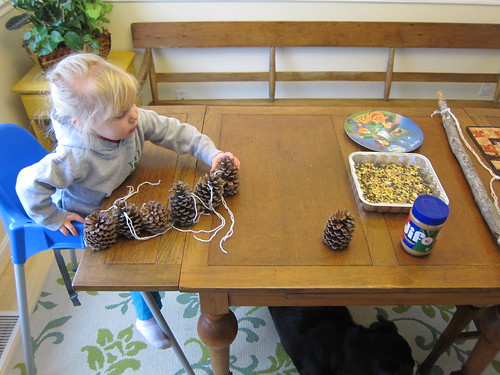
Making bird feeder
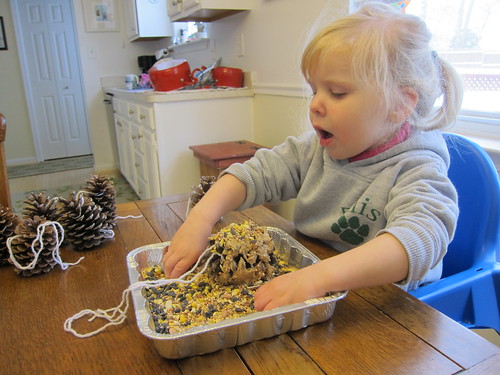
Rolling in seed
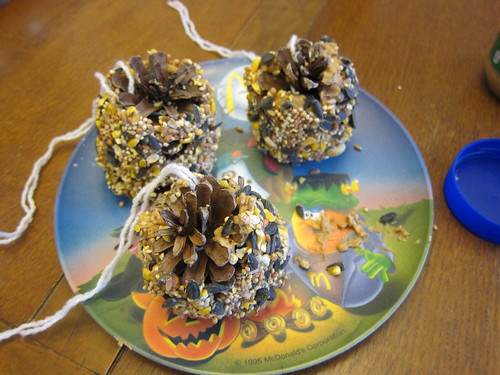
Finished pinecones
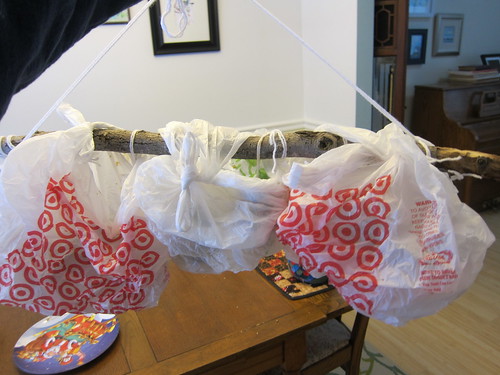
Prepping the rig to go outside
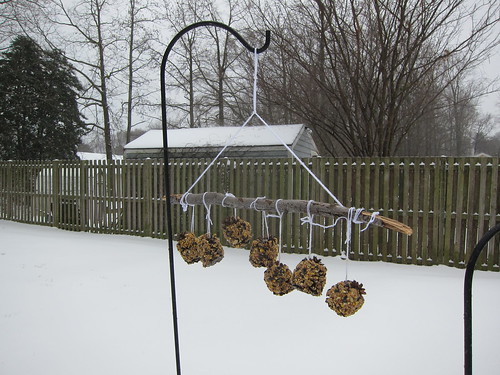
Hanging the feeder
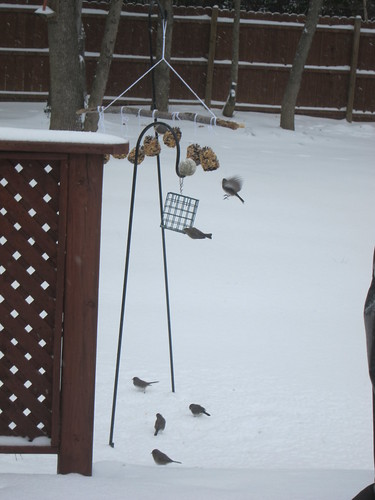
Birds visit
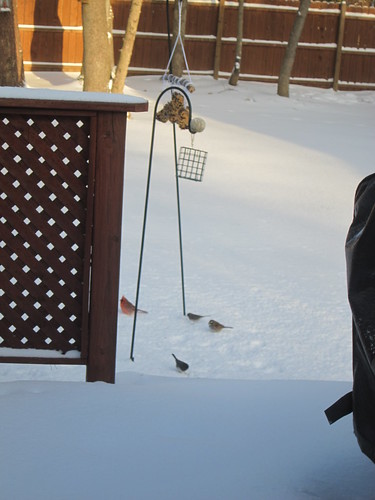
The sun comes out
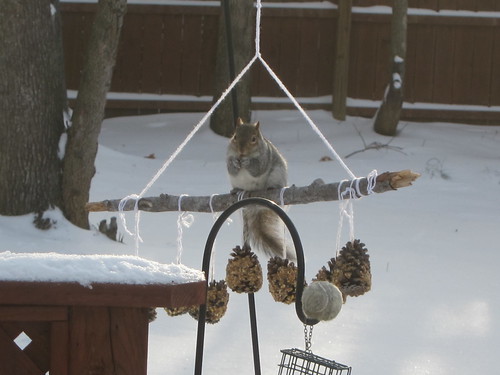
Squirrel visits
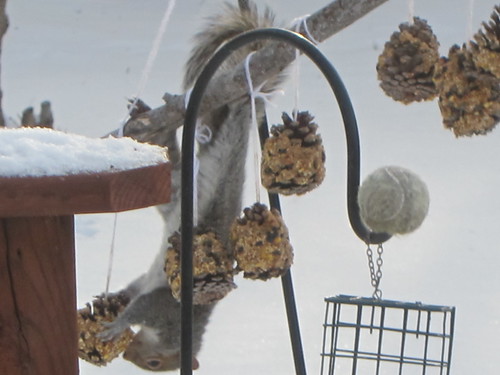
Squirrel antics
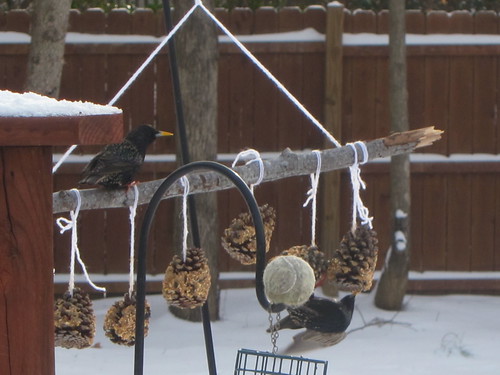
Starlings having breakfast
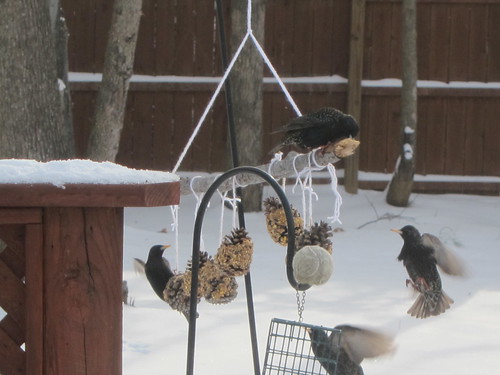
Lots of starlings

Our bird and squirrel feeder was wildly successful and is providing hours of entertainment. Now, what project are we going to do today?

Monday, March 3, 2014

Snowing again...not like that's news

Dear winter storm Titan,
Let me start by saying I'm sorry that we're just not as excited about you as we might have been in December. It's been a busy season. If you want to get our attention you will have to give wedgies to puppies or learn to tap dance. It's not your fault, but you are really late to the party. So move along now, honey. That's quite enough.
Sincerely,
Me

Today we are actively being snowed in. Again. Again again. Last I checked they expect us to get 8-12 inches and not climb out of the 20s. I have a little activity planned for the morning. Mo and I are slathering some pine cones with peanut butter and rolling them in bird seed. Please note we collected the pine cones Saturday morning when it was 50 degrees and sunny. We are going to hang all the pine cones from a stick and then suspend the stick from the big hook outside the kitchen window. Then we can watch the little birds feast. And we'll watch to see how long it takes our friendly neighborhood squirrels rip the whole thing down. Usually quite acrobatic and providing at least several minutes of entertainment. They are efficient little rascals. Then maybe we'll bake cookies and watch movies and shovel as little as humanly possible. I mean, it's supposed to be 80 by Thursday, right?

Wednesday, April 27, 2011

Light weight kicking bag

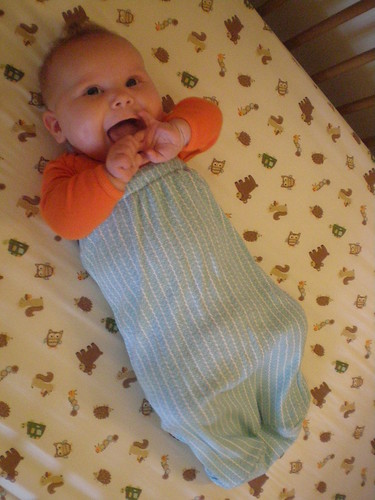
Step 6 - put baby in kicking bag

Last night I packed away most of Maureen's 3-6 month clothing. Can you believe it? She'll be 4 months next week, and we're already heavy into the 6-9 month onesies. She's a big girl, and the cloth-diaper-sumo-butt-thing only enhances it. Among the articles I packed away were three fleece sleep sacks, which we had in constant rotation during the winter. As we are getting a preview of summer, I started wishing Mo had something lighter weight than a sleep-and-play that she could wear at night. I have seen knitting patterns for kicking bags made out of sock wool (for you non-knitters that's very thin yarn usually used to make socks), but I'm afraid that if I embark on a lengthy mindless knitting project right now it will never get finished. Instead I dove into my stash of crap craft materials and came up with a handful of cotton tank tops. (A while back the Jockey Outlet had a 6-for-$20 sale, and I had a $20 gift card. Score! Unfortunately I underestimated my personal girth.) You can make these for your little one, too. It was a quick project. Here's what I did:
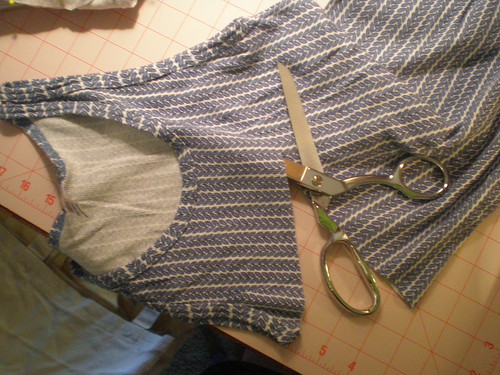
Step 1 - cut across tank top under arm holes

Materials:
* One cotton tank top. I used a Jockey brand women's size L basic tank. They are very stretchy. And natural materials means it will breathe better on baby.
* Scissors.
* Straight pins.
* Thread.
* Sewing machine (optional).
* Pinking shears (optional).
* 3/4" elastic or the size that will fit through your tank's hem.
* Safety pin.
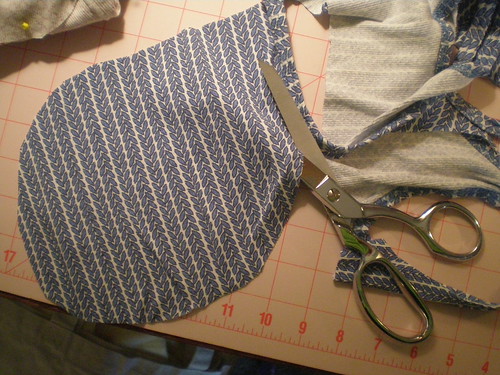
Step 2 - cut a circle out of the remaining top

First, cut straight across the shirt right under the armholes. Next cut out a rounded shape from the back of the tank. Sort of a circle-ish, rectangle-ish shaped piece. Doesn't have to be exact. Here's what your tank top should look like when you finish cutting:
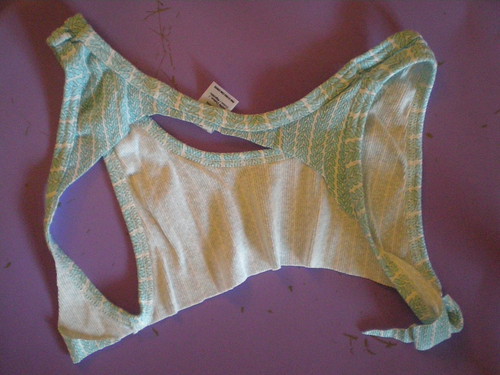
Step 3 - all that's left of tank top

You can chuck this part. And yep, I realize that the fabric is suddenly a different color. I did not start taking photos until the project was well underway.
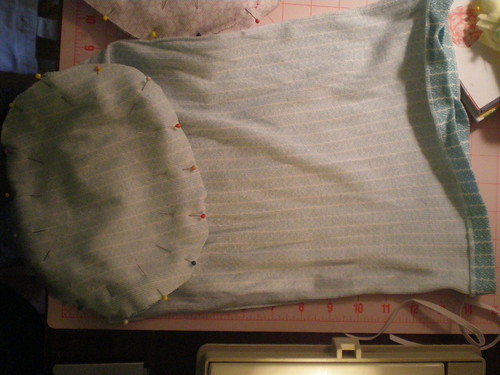
Step 4 - pin circle to raw edge of tank body

Turn the body of the tank top inside-out. Pin the "circle" to the raw edge so that the right sides are facing each other. Sew around the edge leaving a 1/2" margin. Then you can either trim the edges with pinking shears or zigzag stitch the edges. Actually you don't really need to do either if you're using jersey material because it won't ravel. It's just a little neater.
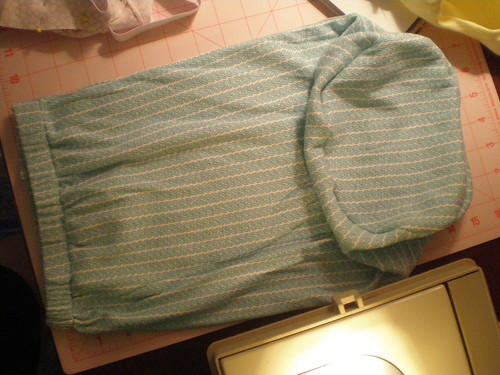
Srep 5 - sew then insert wide elastic in hem

Turn the bag right side out. You're going to have to estimate how much elastic will fit around your baby's chest. I used a pair of Maureen's 9-12 month pants to guestimate the length of elastic I would need, hoping this would fit her through the next couple months. Cut a slit on the inside of the hem near the side seam, and feed your elastic through the hem channel. I hooked a big safety pin onto the end and used it to slide the elastic along. Then I overlapped the two ends of the elastic band, being careful not to twist it, and sewed back and forth and back and forth several times to anchor them together. And that's pretty much it. I tucked three of these bags into Mo's Easter basket--of course, everything else was from the bunny.
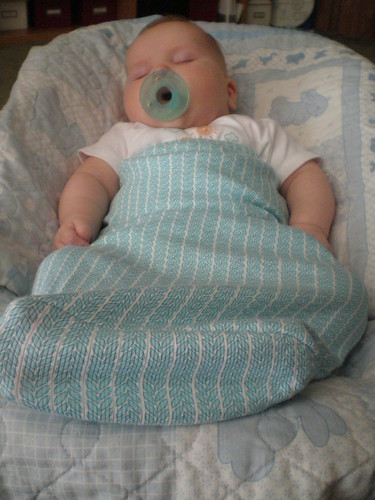
Step 7 - night night

Insert baby, and snooze.

Thursday, March 17, 2011

Dribs and drabs of diy

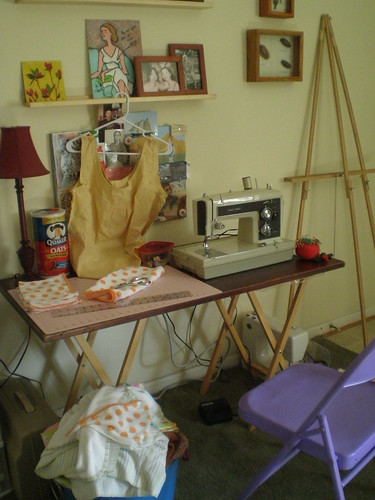
My sewing table

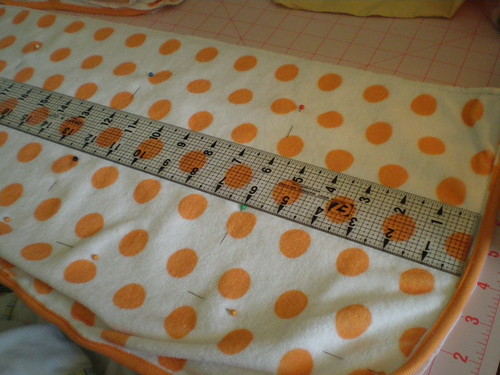
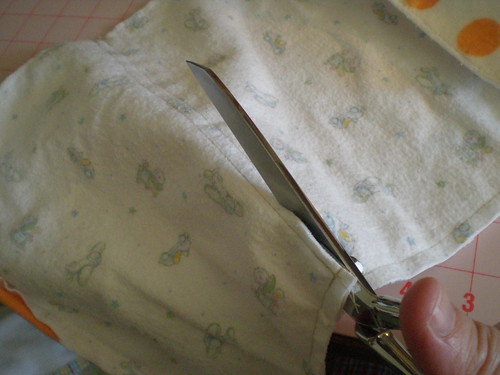
This week I've been bitten by the spring cleaning bug, and I managed to unbury my sewing machine. Since we're doing cloth diapers with Maureen, using cloth baby wipes would be the next logical step. I like the ones with terry cloth on one side and flannel on the other, and they can go right in with the diaper laundry. Online I found them about $10 for a dozen wipes. But before I could click Add To Cart, I realized that I have a perfectly good sewing machine and a huge surplus of flannel receiving blankets and baby bath towels...hmm....

Making cloth baby wipes

Making cloth baby wipes

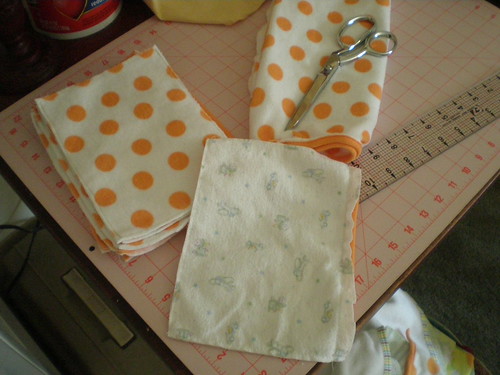
Making cloth baby wipes

I made a dozen wipes. But then duty called, so I'll have to make more over the weekend. Then I can use my Amazon $10 off coupon on Kissaluvs Diaper Lotion Potion. One bottle of concentrate is supposed to last about a year.

Gift from Amy

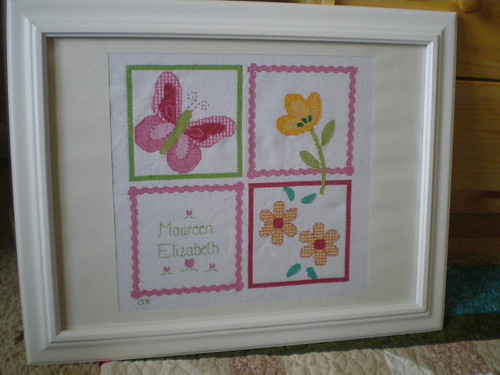
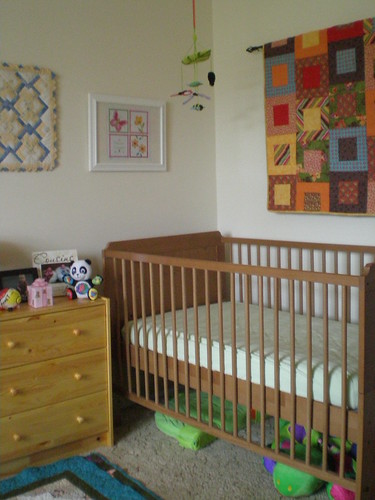
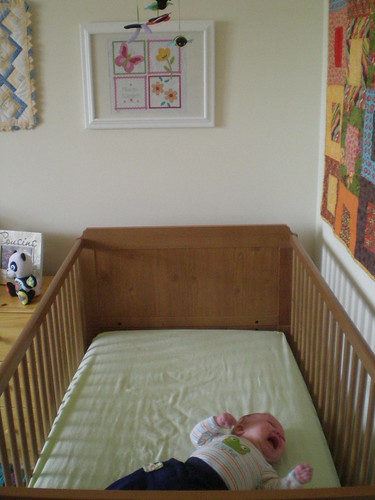
My cousin and Maureen's godmother Amy cross stitched this beautiful image for Maureen's baptism. (Photos from the baptism to be posted soon.) I had no idea she her eyes were that good--that's a lot of teeny tiny stitches!

1 puny hangers

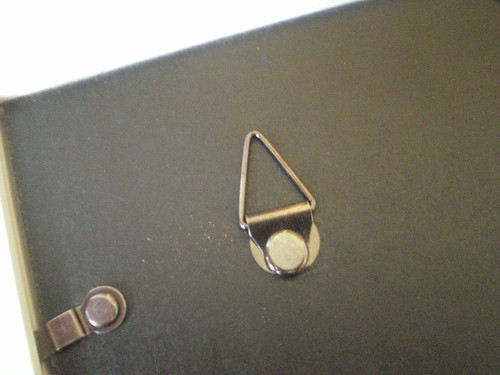
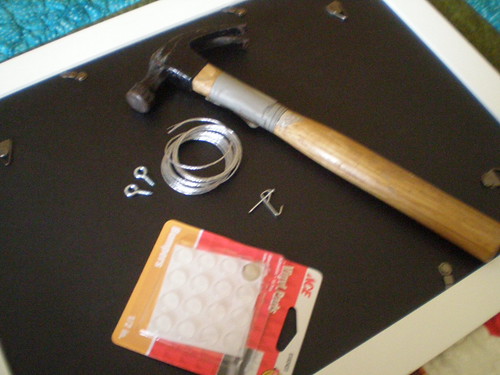
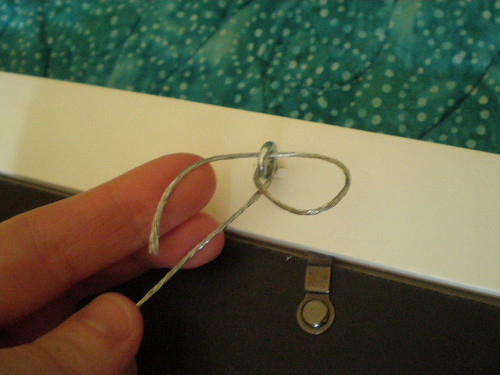
But the frame came with these puny hangers mounted on the cardboard backing. I intended to hang this over Maureen's crib and had no intention of it braining her in the middle of the night, so I beefed up the hardware.

2 framing supplies

4 reinforcing the wire

8 picture hung

I was thrilled with the results.

7 baby is thrilled with results

Baby girl not so much.